
Do you want to raise mealworms and produce sustainable, high-quality feed for your animals? In this comprehensive guide, you’ll learn everything you need to get started with your own mealworm colony – from choosing the right starter colony and setting up the containers to optimizing care and boosting production with practical pro tips.
Why raise mealworms?
Raising mealworms comes with several advantages for animal keepers and self-sufficient households:
- Sustainability and independence: With your own mealworm colony, you can continuously produce fresh, protein-rich feed for chickens, reptiles, birds, fish, and more. You’ll rely less on suppliers and can use kitchen scraps such as vegetable leftovers in a practical way.
- Cost savings: After the initial setup, your feed costs drop significantly. A well-established colony largely sustains itself and provides a steady supply of high-quality live feed.
- Species-appropriate nutrition: Fresh mealworms are often more nutrient-dense than dried store-bought options. You also know exactly what your feeder insects have been fed.
- Easy to keep: Mealworms are low-maintenance, low-odor, and require very little space. Even beginners can get reliable results.
Mealworm starter colony: the foundation of your success
The first step to a successful mealworm colony is a high-quality starter colony. Our mealworm starter colony contains around 2,000–2,500 live larvae from sustainable Austrian breeding – an ideal base for building a productive beetle population.
What makes our starter colony special?
- Austrian quality breeding: All mealworms come from controlled, sustainable breeding in Austria and are fed with high-quality vegetables and grains.
- Balanced size distribution: The larvae are already in an advanced growth stage, but still have enough time before pupation – which helps pupation happen more gradually and evenly.
- High vitality: Thanks to species-appropriate conditions and optimal feeding, our mealworms are particularly active, resilient, and ready to reproduce.
- Careful packaging and high survival rates: We know what matters for shipping live mealworms. In summer we ship in well-ventilated, suitable packaging; in winter (if needed) with a heat pack.
- With or without a starter guide: Choose the version with a detailed step-by-step guide and breeding calendar (ideal for beginners) or without a guide (perfect for experienced keepers).
The mealworm life cycle: from larva to beetle
To raise mealworms successfully, it helps to understand their fascinating life cycle:
Stage 1: Larva (8–12 weeks)
After hatching, mealworms go through multiple larval stages. During this time they molt around 10–15 times and grow to about 25–30 mm. Larvae are very hungry and need fresh substrate plus moisture provided through vegetables or fruit.
Stage 2: Pupa (1–3 weeks)
Once a larva is fully grown, it pupates. In this resting stage, metamorphosis into a beetle takes place. Pupae hardly move and do not need food. They should be disturbed as little as possible and protected from cannibalism (for example by beetles).
Stage 3: Darkling beetle (3–6 months)
A newly emerged beetle is initially pale and soft, then darkens and hardens within a few days. After about 1–2 weeks, breeding begins. A female can lay roughly 200–500 eggs during her lifetime.
Stage 4: Egg (10–14 days)
The tiny, white, oval eggs are laid into the substrate – or, in our Mealworm Farm, into the dedicated perforations of the beetle/larvae separation unit. After 10–14 days, new larvae hatch and the cycle begins again.
Step-by-step: how to start raising mealworms
Step 1: Preparation and basic setup
Before your starter colony arrives, prepare the following:
- Containers: At least 3 plastic boxes, ideally with lids (best with ventilation holes). Recommended size: at least 40×30×15 cm per box.
- Substrate: Rolled oats, wheat bran, or a mix of both (about 3 cm deep).
- Moisture source: Slices of carrot, potato, lettuce leaves, or apple pieces work well for regular moisture and as supplemental feed.
- Hides for beetles: Egg cartons or cardboard tubes provide surface area and good hiding spots.
- Thermometer: To keep track of the ideal breeding temperature of 20–25 °C.
Step 2: Add the starter colony
When your mealworms arrive, gently place them into the prepared container. Give them time to settle in. After shipping – especially during cold or very warm weather – they may need a bit of time to acclimate. After 24 hours, you can add the first vegetable pieces.
Step 3: Watch for pupation
After a few weeks, the first larvae will start to pupate. You’ll notice they move less, turn yellowish-white, and change shape. It’s best to collect pupae in a separate container to protect them from larvae and especially from beetles. Insects can be naturally cannibalistic – separating pupae can significantly increase your yield.
Step 4: Build your beetle colony
Move newly emerged beetles into a dedicated breeding container. This is where they mate and lay eggs into the substrate. Beetles need hiding places and a low-light environment. Alongside oats, wheat bran, or breadcrumbs as a base substrate, beetles also need fresh vegetables or fruit regularly for moisture.
Step 5: Separate the next generation
After 2–3 weeks, you can sieve the substrate into another container for the first time. You can use a standard kitchen sieve or our specialized insect sieve. Eggs, fine substrate dust, and newly hatched larvae fall through and can grow undisturbed in the new container. Return beetles and coarse substrate from the sieve back into the beetle container.
Step 6: Raise the next generation
After 10–14 days, the tiny new larvae hatch. From here, the cycle repeats. Make sure there is enough substrate and provide fresh vegetables or fruit regularly. Over the next 8–12 weeks, larvae grow into larger mealworms before pupating again. You can continuously harvest larvae at different sizes for feeding – but make sure roughly one third is allowed to develop into beetles so your colony keeps producing long-term.
Optimal conditions for best results
Temperature: the key factor
The ideal breeding temperature is 20–25 °C. In this range, mealworms develop fastest and beetles breed most actively.
Below 15 °C: Development slows down noticeably. At around 9 °C, mealworms enter a cold-induced dormancy, barely move, stop eating, and become largely inactive.
Above 30 °C: Heat stress for larvae and beetles, higher mortality, and reduced reproduction. Breeding can still work, but keep moisture foods modest and make sure vegetables or fruit do not start molding.
Cold tolerance: Mealworms can survive short periods just above 0 °C, but growth stops completely.
Humidity and ventilation
Mealworms do best at 40–60% relative humidity. Too dry can cause development issues; too humid increases the risk of mold and mites.
Moisture management: Add fresh vegetables or fruit 2–3 times per week. Remove dried-out or moldy pieces immediately.
Ventilation: Small holes in the lid (max. 2 mm) ensure airflow and help prevent condensation. Stir and “comb through” the substrate regularly to avoid damp pockets.
Light
Larvae, beetles, and pupae prefer a dark environment. Ideally use darker, non-transparent containers and never place the boxes in direct sunlight.
Feeding: the right substrate
The substrate is both habitat and food. Proven options include:
- Rolled oats: Affordable, easy to find, and readily eaten.
- Wheat bran: High in fiber and nutrients and supports fast growth.
- Mixes: Combining different grains can improve overall nutrition.
Supplement regularly with vegetable scraps such as carrots, cucumber, potatoes, or lettuce for moisture and vitamins. Avoid too much watery produce like tomatoes, grapes, or bananas.
Hygiene and care
- Regular sifting: Every 4–6 weeks, sift the substrate to remove frass (droppings) and shed skins. You can temporarily move the insects while doing this. A basic kitchen sieve works, but our sieve set for mealworm breeding includes multiple mesh inserts for separating substrate, young larvae, and frass, plus a time-saving way to separate pupae from larvae and beetles. Fine frass (under 0.5 mm) also makes an excellent fertilizer for vegetables and houseplants.
- Mold control: Remove contaminated feed immediately and reduce moisture. Sifting can also help re-aerate the substrate and slow mold growth.
- Mite prevention: Keep the setup on the drier side, avoid rotting produce, and quarantine any new insects before introducing them.
- Moth prevention: Pantry moths can arrive through store-bought grains. Freeze the substrate before use, then thaw it – this helps kill eggs. If you notice moths, place sticky traps near your boxes immediately to prevent spread.
The 3-box system: a practical way to stay organized
For continuous mealworm production, the proven 3-box system works extremely well:
Box 1 – Beetle box
This is where adult beetles live and lay eggs into the substrate. After 2–3 weeks, begin sifting to separate eggs, young larvae, and fine substrate from the beetle colony.
Box 2 – Grow-out box
Move the egg-rich substrate from Box 1 into this container. The larvae hatch and grow here until they reach harvest size. This is your main feeding box. Occasional sifting can help separate faster-growing larvae from slower-growing ones for a more uniform size.
Box 3 – Pupation box
Collect large larvae that are close to pupation here until they turn into beetles. Pupae need no feeding, only minimal substrate and—most importantly—separation from larvae and beetles. Once new beetles emerge, move them back to Box 1.
This system keeps things clear and efficient and ensures you always have multiple stages growing at the same time.
DIY setup or a ready-made mealworm farm?
If you don’t mind preparing multiple boxes, sifting regularly, and keeping track of stages, the classic 3-box system works very well.
If you want to save time and avoid common beginner mistakes, a ready-made Mealworm Farm can be much simpler. It combines the key zones in one well-designed system and reduces maintenance effort as well as mold risk thanks to optimized ventilation.
Common beginner mistakes (and how to avoid them)
Mistake 1: Starting with too few mealworms
A small handful of mealworms is usually not enough to build a stable breeding colony. Our starter colony with 2,000–2,500 larvae provides good genetic diversity and helps you establish reproduction quickly.
Mistake 2: Not replenishing beetles early enough
If all beetles in your breeding box are from the same generation, many of them may die off around the same time a few months later. Try to let roughly one third of your mature larvae develop into beetles on an ongoing basis. This creates overlapping generations and stabilizes egg production.
Mistake 3: Substrate that’s too wet
Many beginners overdo moisture foods like fruits and vegetables. The result is often mold, mites, and die-offs. Use smaller portions, watch closely, and replace leftovers more frequently.
Mistake 4: Not being patient
Mealworm breeding takes time. From a starter colony to your first larger harvest usually takes about 2–3 months. Think of it as the investment phase for building a robust colony—stay consistent and you’ll be rewarded later.
Mistake 5: The wrong location
Avoid direct sunlight (overheating), drafty areas (temperature swings), and damp basements (mold risk). A room with stable temperature is ideal.
Harvesting and using mealworms
When to harvest
You can harvest larvae, pupae, or beetles in different sizes depending on the animal you feed:
- Small larvae (5–10 mm): Great for baby birds, small fish, and young reptiles.
- Medium larvae (10–20 mm): Ideal for adult birds and medium-sized reptiles.
- Large larvae (20–30 mm): Suitable for large reptiles, fish, and chickens—also as a high-protein treat.
- Pupae: Some animals prefer nutrient-rich pupae. Predatory fish often eat mealworm pupae very readily.
- Beetles: Can be fed too, but have lower nutritional value than larvae. With some animals, make sure they can digest the harder shell well.
Storage and preservation
- Live feeding: The most natural option—feed fresh mealworms for maximum nutrition.
- Refrigeration: At 8–10 °C, mealworms become dormant and can be stored for 4–6 weeks. Development stops and larvae stay small. This is useful to slow down your breeding cycle or to store larvae, pupae, and beetles temporarily.
- Freezing: For longer storage. Briefly blanch first, then freeze. Shelf life: several months up to around 2 years.
- Drying: Use a dehydrator or oven at low temperature (about 60–80 °C). Great for keeping a запас / stockpile or mixing into feed.
Nutritional value and feeding tip
Depending on how they’re kept and fed, mealworms are roughly about 50% protein and about 50% fat (fresh weight). They’re rich in:
- essential amino acids
- B vitamins
- minerals (especially when supplemented with calcium)
- polyunsaturated fatty acids
Important note: Mealworms naturally have an unfavorable calcium-to-phosphorus ratio. For reptiles, dust them with calcium carbonate before feeding (“gut loading”).
Scale and optimize your colony
Run multiple colonies in parallel
With multiple starter colonies, you can scale production significantly. Use our quantity discounts:
- 2 starter colonies: 5% savings
- 4 starter colonies: 10% savings
Separate colonies also add safety: if one colony runs into problems, the others keep going.
Use a breeding calendar
With our optional Starter Guide, you get a breeding calendar that helps you keep track of:
- When were eggs laid?
- When will larvae hatch?
- When should pupation happen?
- When can beetles be removed?
- Which generation of larvae, pupae, or beetles do I have?
This kind of documentation becomes especially valuable once you run multiple boxes at the same time.
Improve the colony through selection
After a few generations, you can selectively keep the biggest, most vigorous beetles for breeding. This improves quality over time. Our sieve set includes two different pupae sieve inserts: they help you separate strong, breeding-ready pupae from weaker ones. Use the weaker ones directly as feed, while the strongest pupae become your next powerful beetle generation.
Mealworms for different animals
For chickens and poultry
Chickens love mealworms as a protein-rich treat. Larvae can support:
- better feather growth
- higher egg production
- a stronger immune system
- natural foraging and pecking behavior
Recommendation: 5–10 mealworms per chicken per day as a supplemental feed.
For reptiles
Bearded dragons, geckos, chameleons, and other lizards benefit from live feeders. Mealworms offer:
- movement that triggers hunting behavior
- high protein content
- easy handling
- low escape risk
Important: dust with calcium carbonate and rotate with other feeders (avoid too much fat).
For birds
Wild birds, pet birds, and budgies can benefit from protein-rich mealworms, especially during breeding season:
- faster growth for chicks
- better plumage
- support during molting
- more variety in the diet
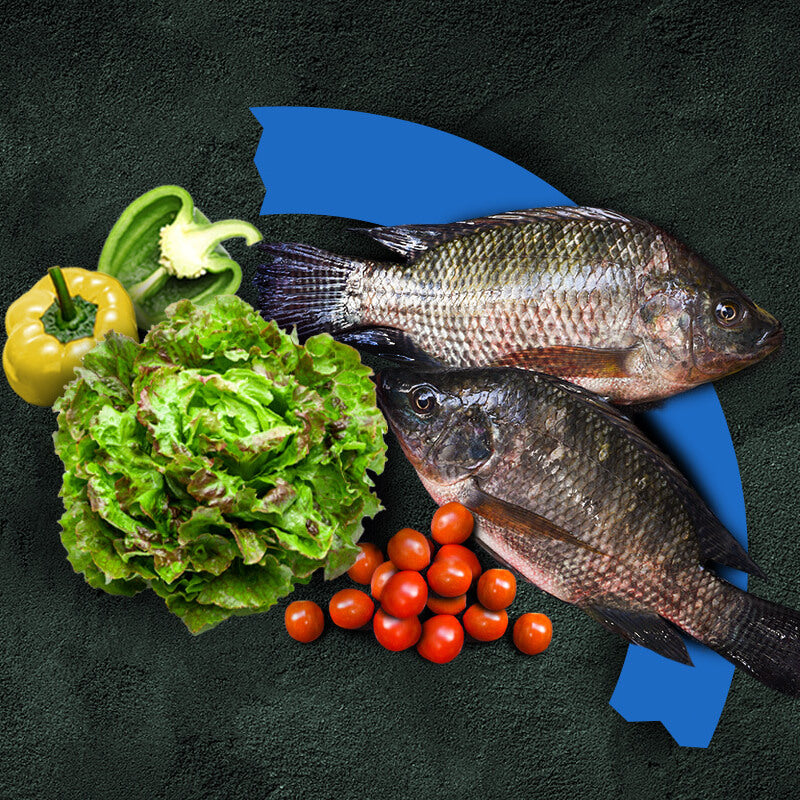
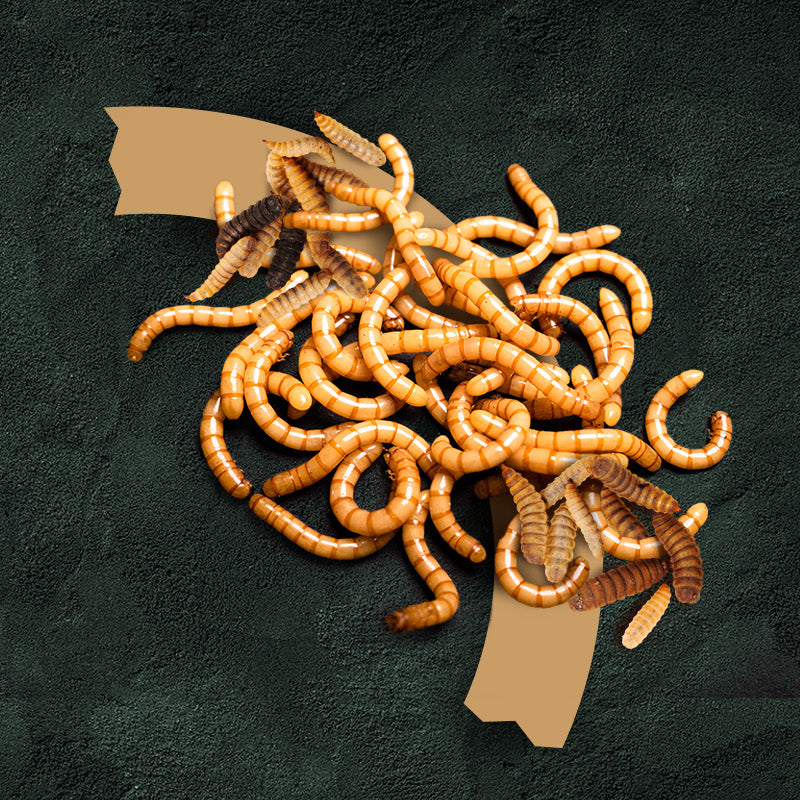
For fish and amphibians
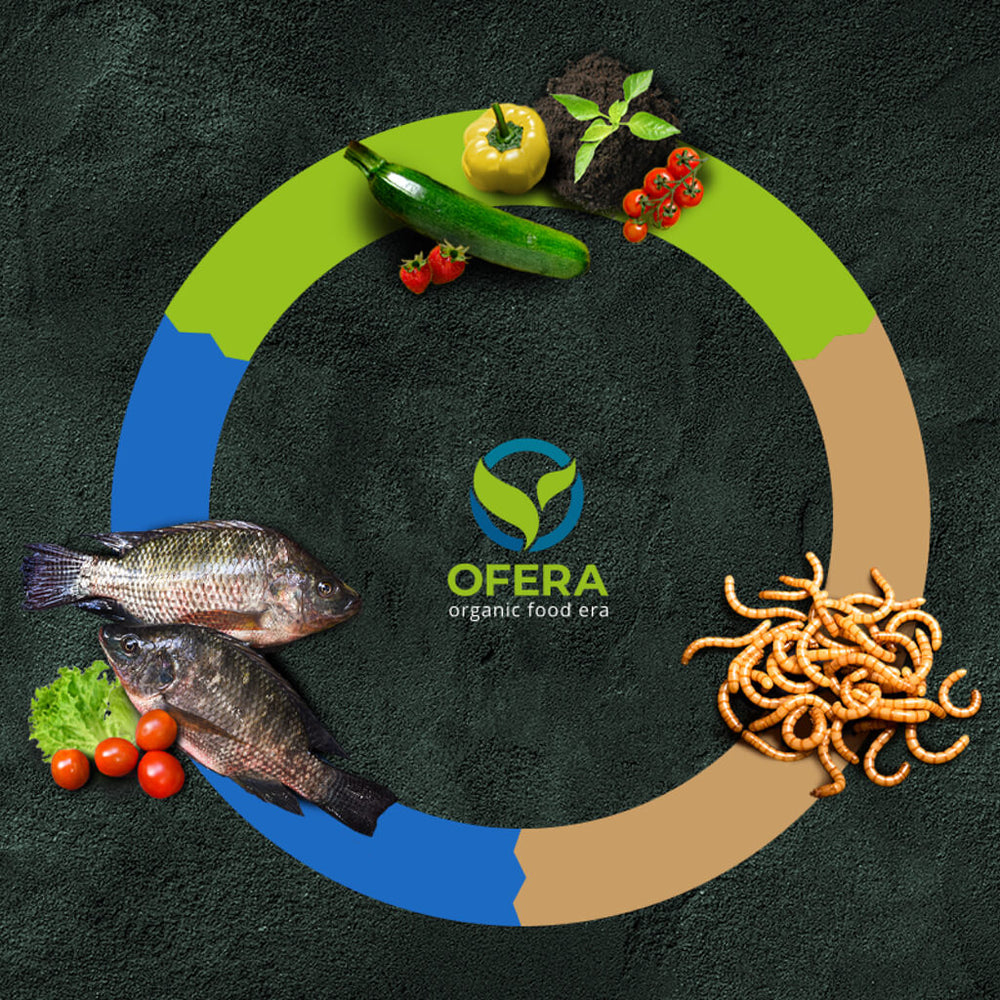
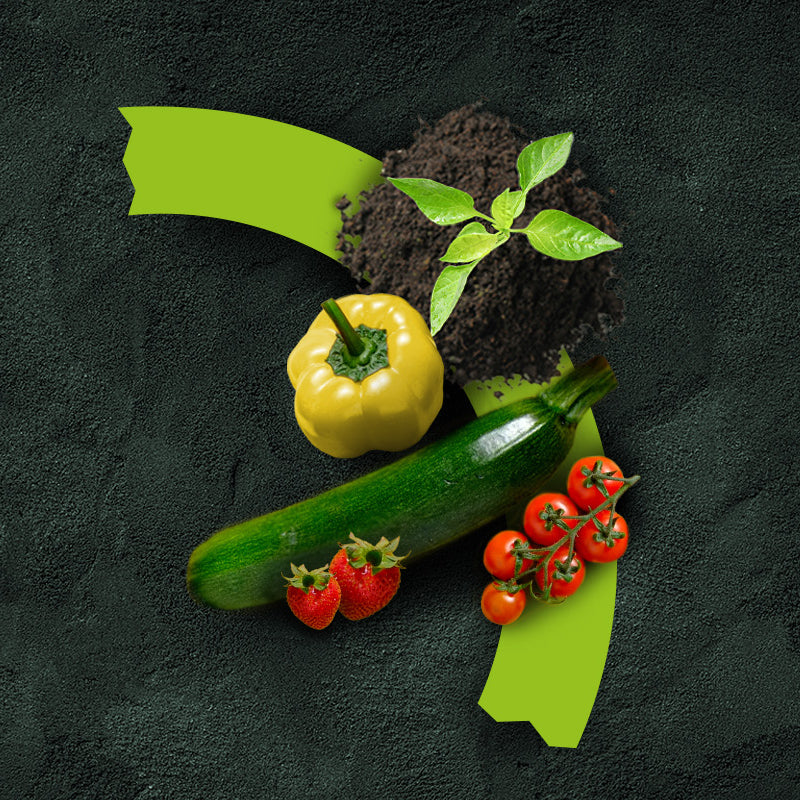
Aquarium fish and amphibians like axolotls also enjoy live or frozen mealworms as variety. In aquaponics, mealworms become especially interesting: you can feed vegetable scraps to the mealworms and then use the mealworms as fish feed—bringing resources back into your cycle.
The right equipment for your setup
Alongside the starter colony, you’ll want the right equipment for smooth results.
With the tips above, you can source containers and tools like sieves, scoops, lids, and transport boxes in many places. If you want to avoid typical beginner mistakes—or spending time hunting down the perfect gear—we’ve listed a few helpful products below.
The OFERA Mealworm Farm
Our purpose-built all-in-one breeding system is popular worldwide and offers:
- perfectly matched containers
- optimized ventilation
- easy handling
- space-saving design
- long-lasting quality
The OFERA Mealworm Farm is an ideal complement to your starter colony.
The complete OFERA mealworm starter set
For a true worry-free start, we also offer complete sets that include everything you need to begin right away—perfect if you don’t have equipment yet.
The all-in-one sieve set for mealworm breeding
This covers everything related to sifting and saves a lot of time. It allows you to:
- separate pupae from larvae and beetles
- separate strong pupae (for breeding) from smaller, weaker pupae (for feeding)
- separate young larvae of different sizes from larger larvae
- separate larvae of any size from frass and leftover substrate
Hand scoop for sorting larvae and pupae
A simple, affordable tool to separate mealworms from pupae and beetles: larvae fall through the slotted openings, while pupae and beetles stay in the scoop and can be poured back into the correct container.
OFERA breeding trays
These proven original breeding trays are not only the ideal size; they also have a smooth surface that helps prevent beetles and larvae from escaping. They work perfectly as a base or expansion for the Mealworm Farm.
Sustainability benefits
Mealworm breeding is one of the most sustainable ways to produce animal protein:
- Low resource use: Mealworms require far less water, feed, and space than conventional livestock.
- Upcycling: Kitchen scraps and vegetable leftovers can be used as feed instead of ending up in the trash.
- Low emissions: A small home setup produces minimal emissions and can be run with a very small footprint.
- Circular economy: Mealworm frass is an excellent organic fertilizer for gardens and houseplants.
- Local production: Raising your own mealworms reduces transport distances and supports local loops.
Legal and safety notes
In Austria, Germany, Switzerland, and most other countries, keeping mealworms privately as feeder insects is legal and does not require a permit. Commercial breeding may be subject to regulations.
Can humans eat mealworms?
Yes—dried mealworms have been authorized in the EU as a novel food since 2021. If you’re considering that, pay close attention to hygiene and what you feed your mealworms.
Our starter colony is intended solely for building a breeding population and is not suitable for human consumption.
Allergies and precautions
Some people can be allergic to mealworm proteins or to frass (droppings). If you notice respiratory issues or skin reactions, stop breeding or use protective measures such as gloves and a mask.
Conclusion: start your own mealworm colony
Raising mealworms is simple, sustainable, and rewarding. With the right starter colony, a bit of patience, and the tips in this guide, you’ll soon be harvesting your own mealworms.
Your benefits at a glance
✔ Sustainable, protein-rich feed production
✔ Less reliance on suppliers
✔ Noticeable cost savings
✔ Species-appropriate nutrition for your animals
✔ Practical use of kitchen scraps
✔ Easy, space-saving setup
✔ Fascinating to observe
Next steps
- Order a starter colony: Get your mealworm starter colony with 2,000–2,500 live larvae.
- Choose your version: With the starter guide for beginners or without if you already have experience.
- Prepare your setup: Get containers, substrate, and moisture foods ready.
- Start: Follow the steps and build your first colony.
- Scale up: Add more colonies if you want to increase production.
Shipping note: We ship across the EU and to Switzerland. Fast delivery within 3–5 business days in animal-friendly, eco-friendly packaging. Our mealworms come from Austrian breeding and are fed with high-quality vegetables and grains.
Cold tolerance: Larvae can tolerate temperatures down to around 0 °C for short periods and enter cold dormancy at around 9 °C. Ideal breeding temperature: 20–25 °C.
Availability: Only 10 units left. Use our bulk discount: buy 2 and save 5%, buy 4 and save 10%!
Get your starter colony now and harvest your first home-raised mealworms in just a few weeks.
Questions? Check out our video tutorial or contact our expert team—we’ll be happy to help you get started with your mealworm colony.


Leave a comment