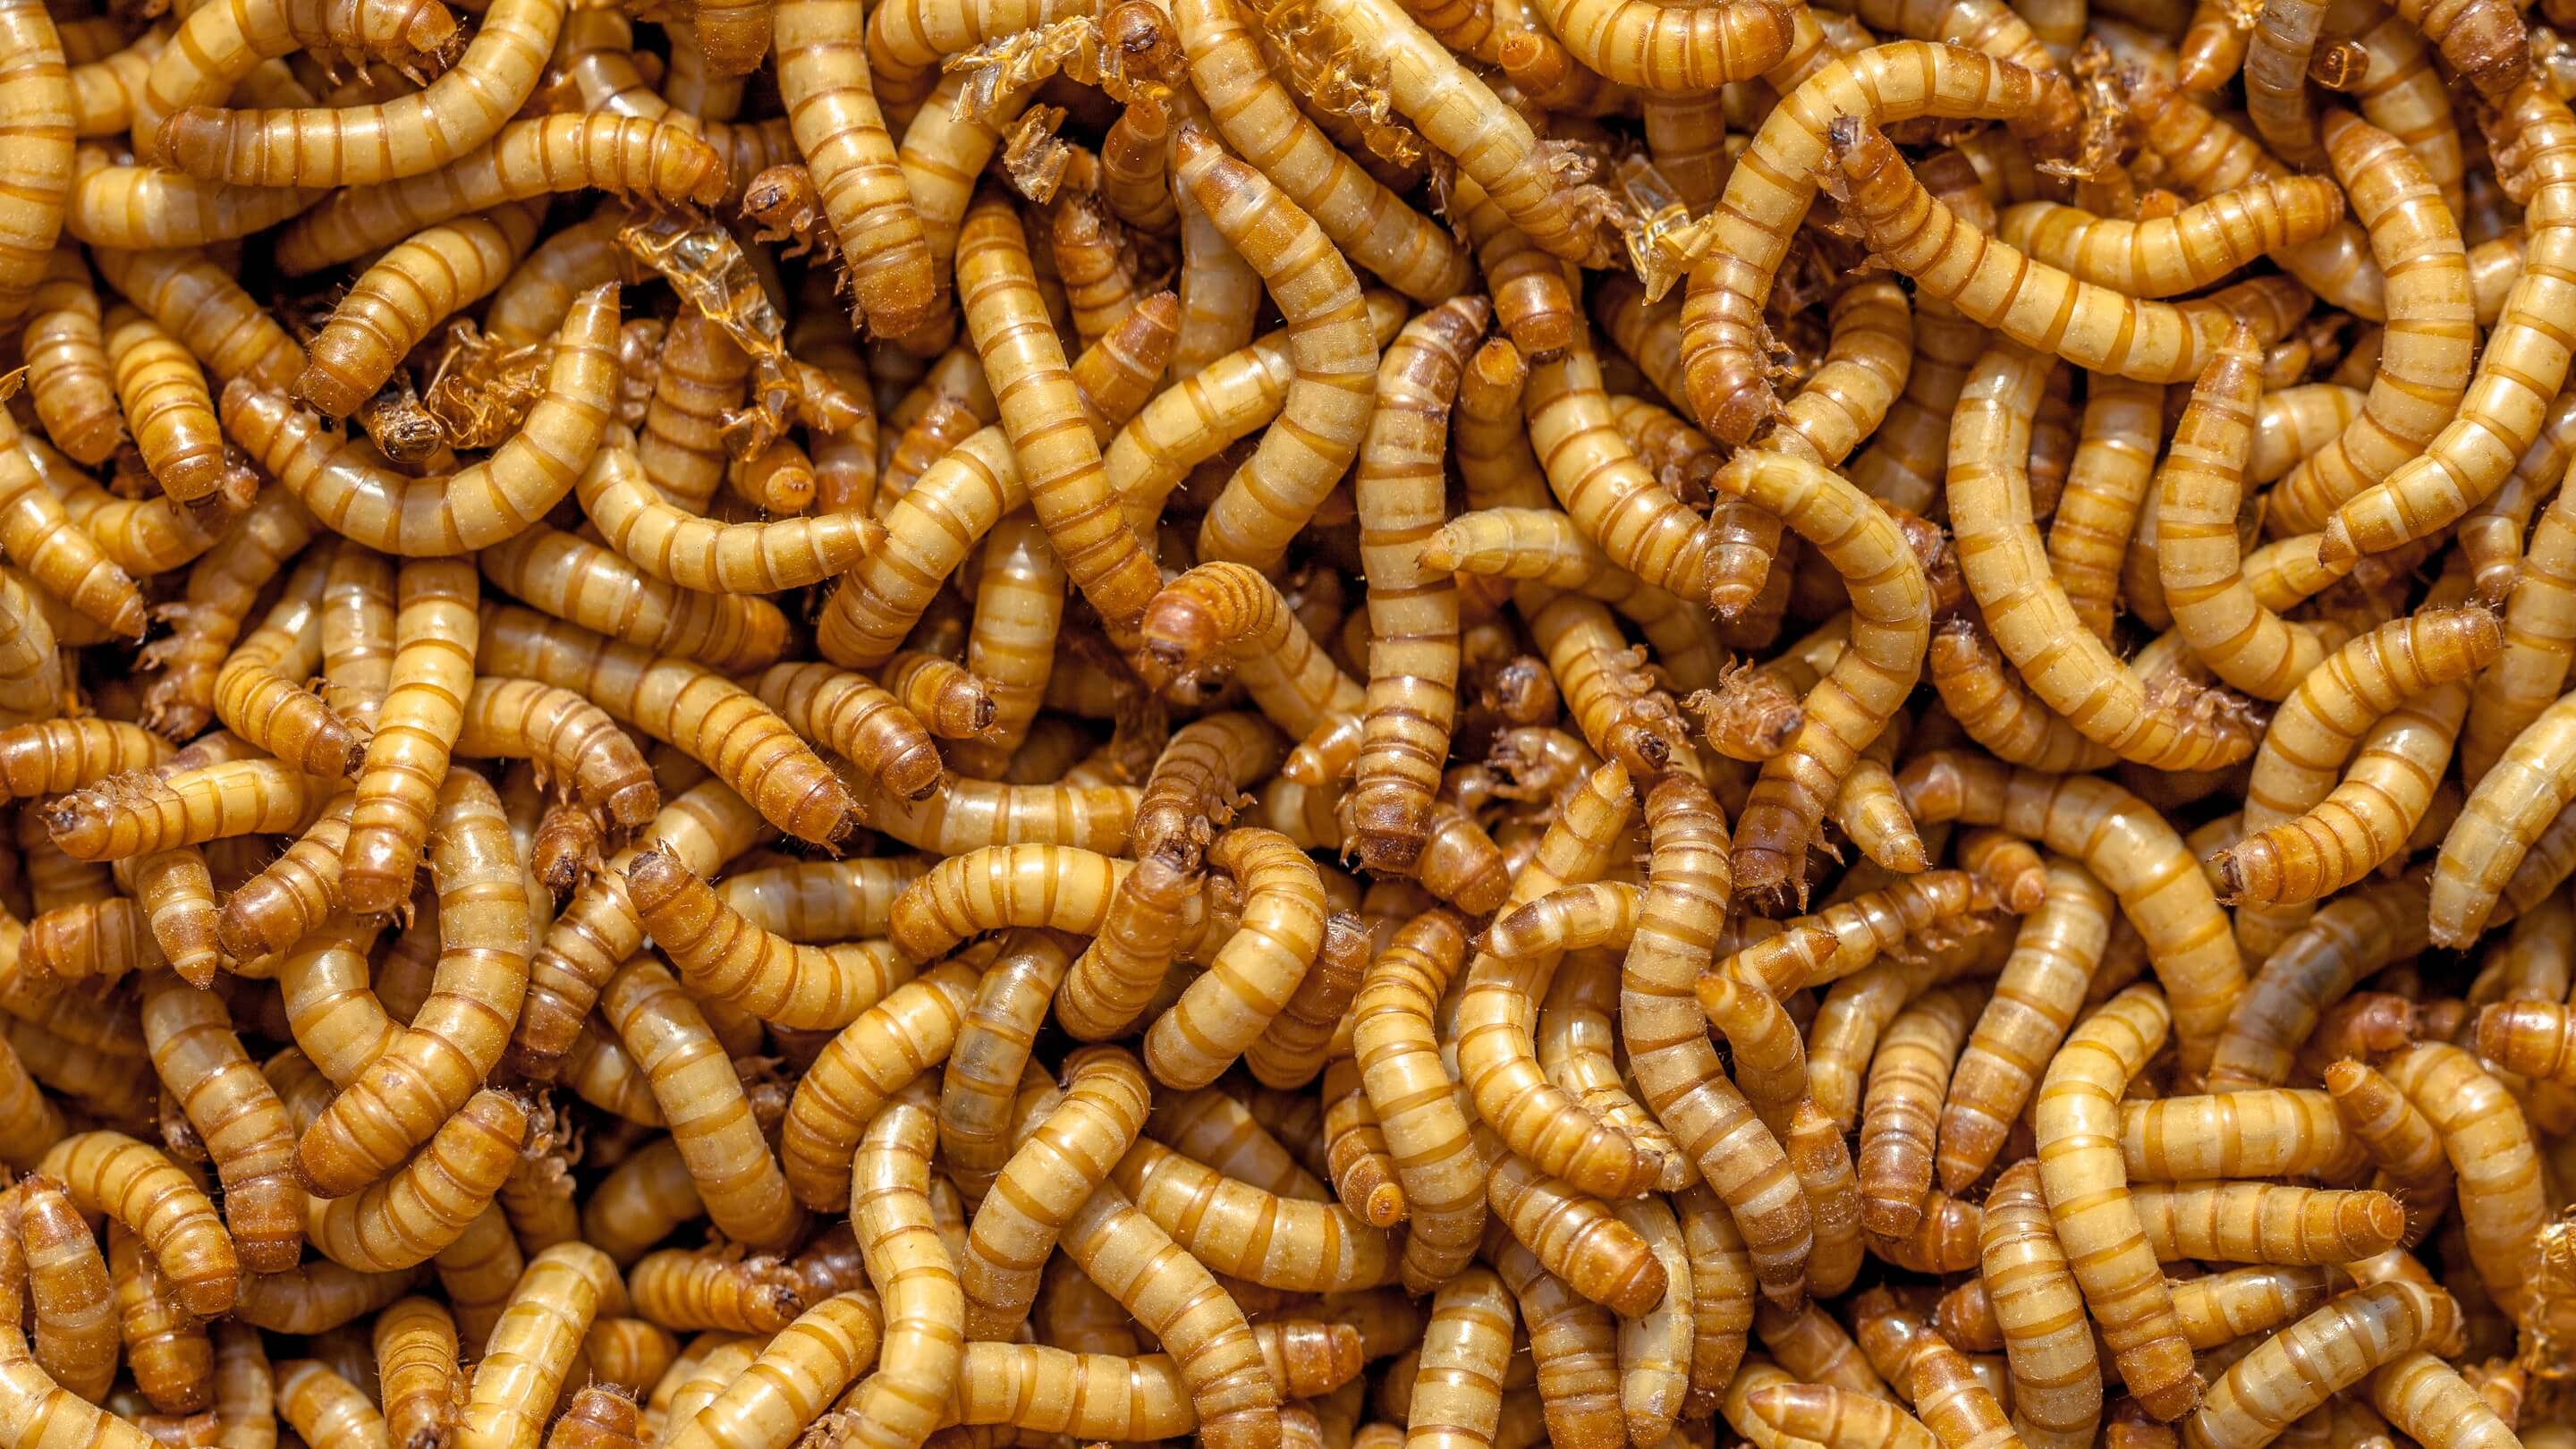
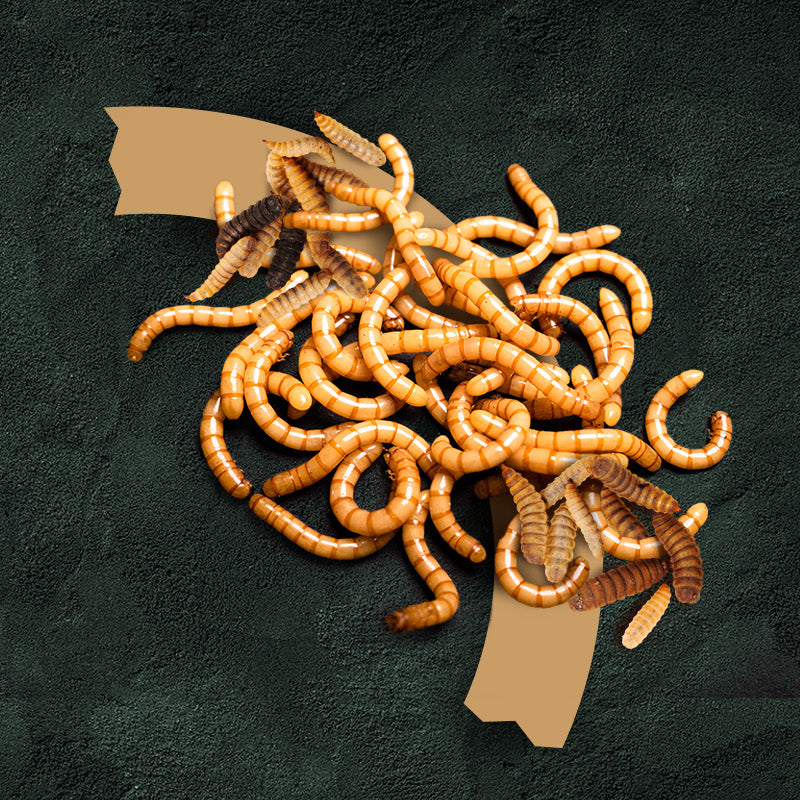
Mealworms are gradually becoming more important as feed and edible insects . They can now also be found on supermarket shelves. And for good reason: mealworms are rich in high-quality protein and also have a very good ecological balance in production.
So why not breed them yourself? It makes sense to breed your own mealworms, for example as feed insects for fish, chickens, birds or reptiles . I'll show you how that works in this article.

How is the OFERA mealworm farm structured?
The mealworm farm from OFERA consists of three container units - the trays. The trays are stacked on top of each other and can be re-stacked at any time. Because you can always place the containers exactly on top of each other, you generally don't make anything dirty.
Tray A:
The upper Tray-A serves as a shelter for the pupated larvae and beetles. The beetles mate in the beetle area. The protruding lip - the hatching ramp - offers the pupated larvae enough space in a protected area until they become beetles.
Tray-B
The young larvae that hatch from the eggs of the beetles in Tray-A grow in the middle tray. Due to the automatic beetle-larvae separation in Tray-A, the eggs and young larvae fall completely by themselves to the next level in Tray-B, where they then grow into mealworms.
Tray-C
You usually use this tray to initially pupate the larvae from the OFERA mealworm breeding starter colony and then place them on the hatching ramp in Tray-A. You also have space in Tray-C to store the optional accessories .
Optional accessories for the OFERA mealworm farm
Optionally, you can supplement your farm with practical accessories from the shop. For example, you can add more trays to your farm to accommodate more mealworms in the same space. Or you can make your work easier with a harvest sieve or a shovel .
How does the breeding of mealworms work with the OFERA mealworm farm?
Step 1 – Let your larvae pupate
Use the Tray-C

Distribute the larvae from the mealworm breeding starter colony in Tray-C.

Let the larvae turn into pupae! Depending on conditions, this can take 2-3 weeks.

Step 2 – Build your beetle colony
Fill the beetle area in Tray-A with fresh substrate! (Oat flakes, bread crumbs or wheat bran)

Place the pupated larvae (from step 1) one by one on the hatching ramp of Tray-A

After a few days, the first beetles begin to hatch and then migrate independently into the beetle area.

Step 3 – Keep your colony alive
The beetles now begin to mate in the beetle area. However, the beetles only live for a few months . Gradually place pupae on the hatching ramp and ensure that the ramp is occupied again and again in the future. This way you can ensure that the cycle is closed and you can secure offspring for your colony.
Feed both the beetles and the larvae with fresh vegetables or fruit every 1-2 weeks . This way, the insects replenish their water content. Salad leaves, carrots, zucchini, apple pieces , etc. are good options. But make sure that the vegetables do not start to mold and remove them in good time.
Step 4 – Harvest your mealworms
If your beetle colony has been mating diligently, after a while you should see the first young larvae in Tray B. After a few weeks of feeding, the mealworms will grow in size and you can start harvesting.
In Tray-B you should already see the first mealworms ready for harvest

Use Tray-C and place the OFERA insect sieve over it. Use the substrate scoop to put the substrate into the sieve. Shredded substrate and small worms fall through the mesh and remain in Tray-C - you continue to feed them. The larvae that are ready to be harvested remain in the sieve.

You can freeze the larvae to preserve them. You can then feed them to your fish, birds, chickens or reptiles.
In this video I'll show you the individual steps again.
Share your experience with breeding mealworms with us. You can find the comment box below.


Hi Marcus! Sure. We’ll contact you via E-Mail!
Hello I am interested in getting some of your breeding boxes for mealworms and also the black soldier fly larvae for my fish. I live in Sydney, Australia. Are you able to post to there. Could you contact me with pricing? Thank you!
Leave a comment