You're probably already mentally preparing for the aquaponics and gardening season. Which vegetables will sprout from your beds this year? Do you buy the young vegetable plants ready-made, or do you want to germinate your plants yourself?
Our tip: Try growing your plants from seed. This way you have a direct influence on the quality of your harvest. We will show you in three steps how to go from seed to young plants that are ready to be pricked out. At the same time, you will learn the differences between growing young plants for soil and young plants for aquaponics systems.
Step 1 – Get high-quality seeds
Seeds for herbs and vegetables are relatively easy to obtain in spring. They are sold in garden centres, online and sometimes even in supermarkets. However, if you want high-quality seeds from organic, dynamic cultivation, you should definitely take a closer look.
Here in Austria, there are some seed producers who place great value on organic, biological crop production. And that's a good thing. They completely avoid genetic engineering and hybrid seeds. The plants go through their natural life cycle , ripen and then produce their natural seeds. The result is vital plants with tasty fruits. Unfortunately, that cannot be taken for granted.
There are also seed producers who specialize in preserving varieties. In the last century, almost 75 percent of the diversity used in agriculture has been lost . Diversity is simply important in order to have robust crops for different growing conditions in the future. In addition, a variety of varieties makes you much more resistant to pests . So if you want to use high-quality seed for this season, you should definitely visit your trusted gardener or click on Reinsaat or Arche Noah .
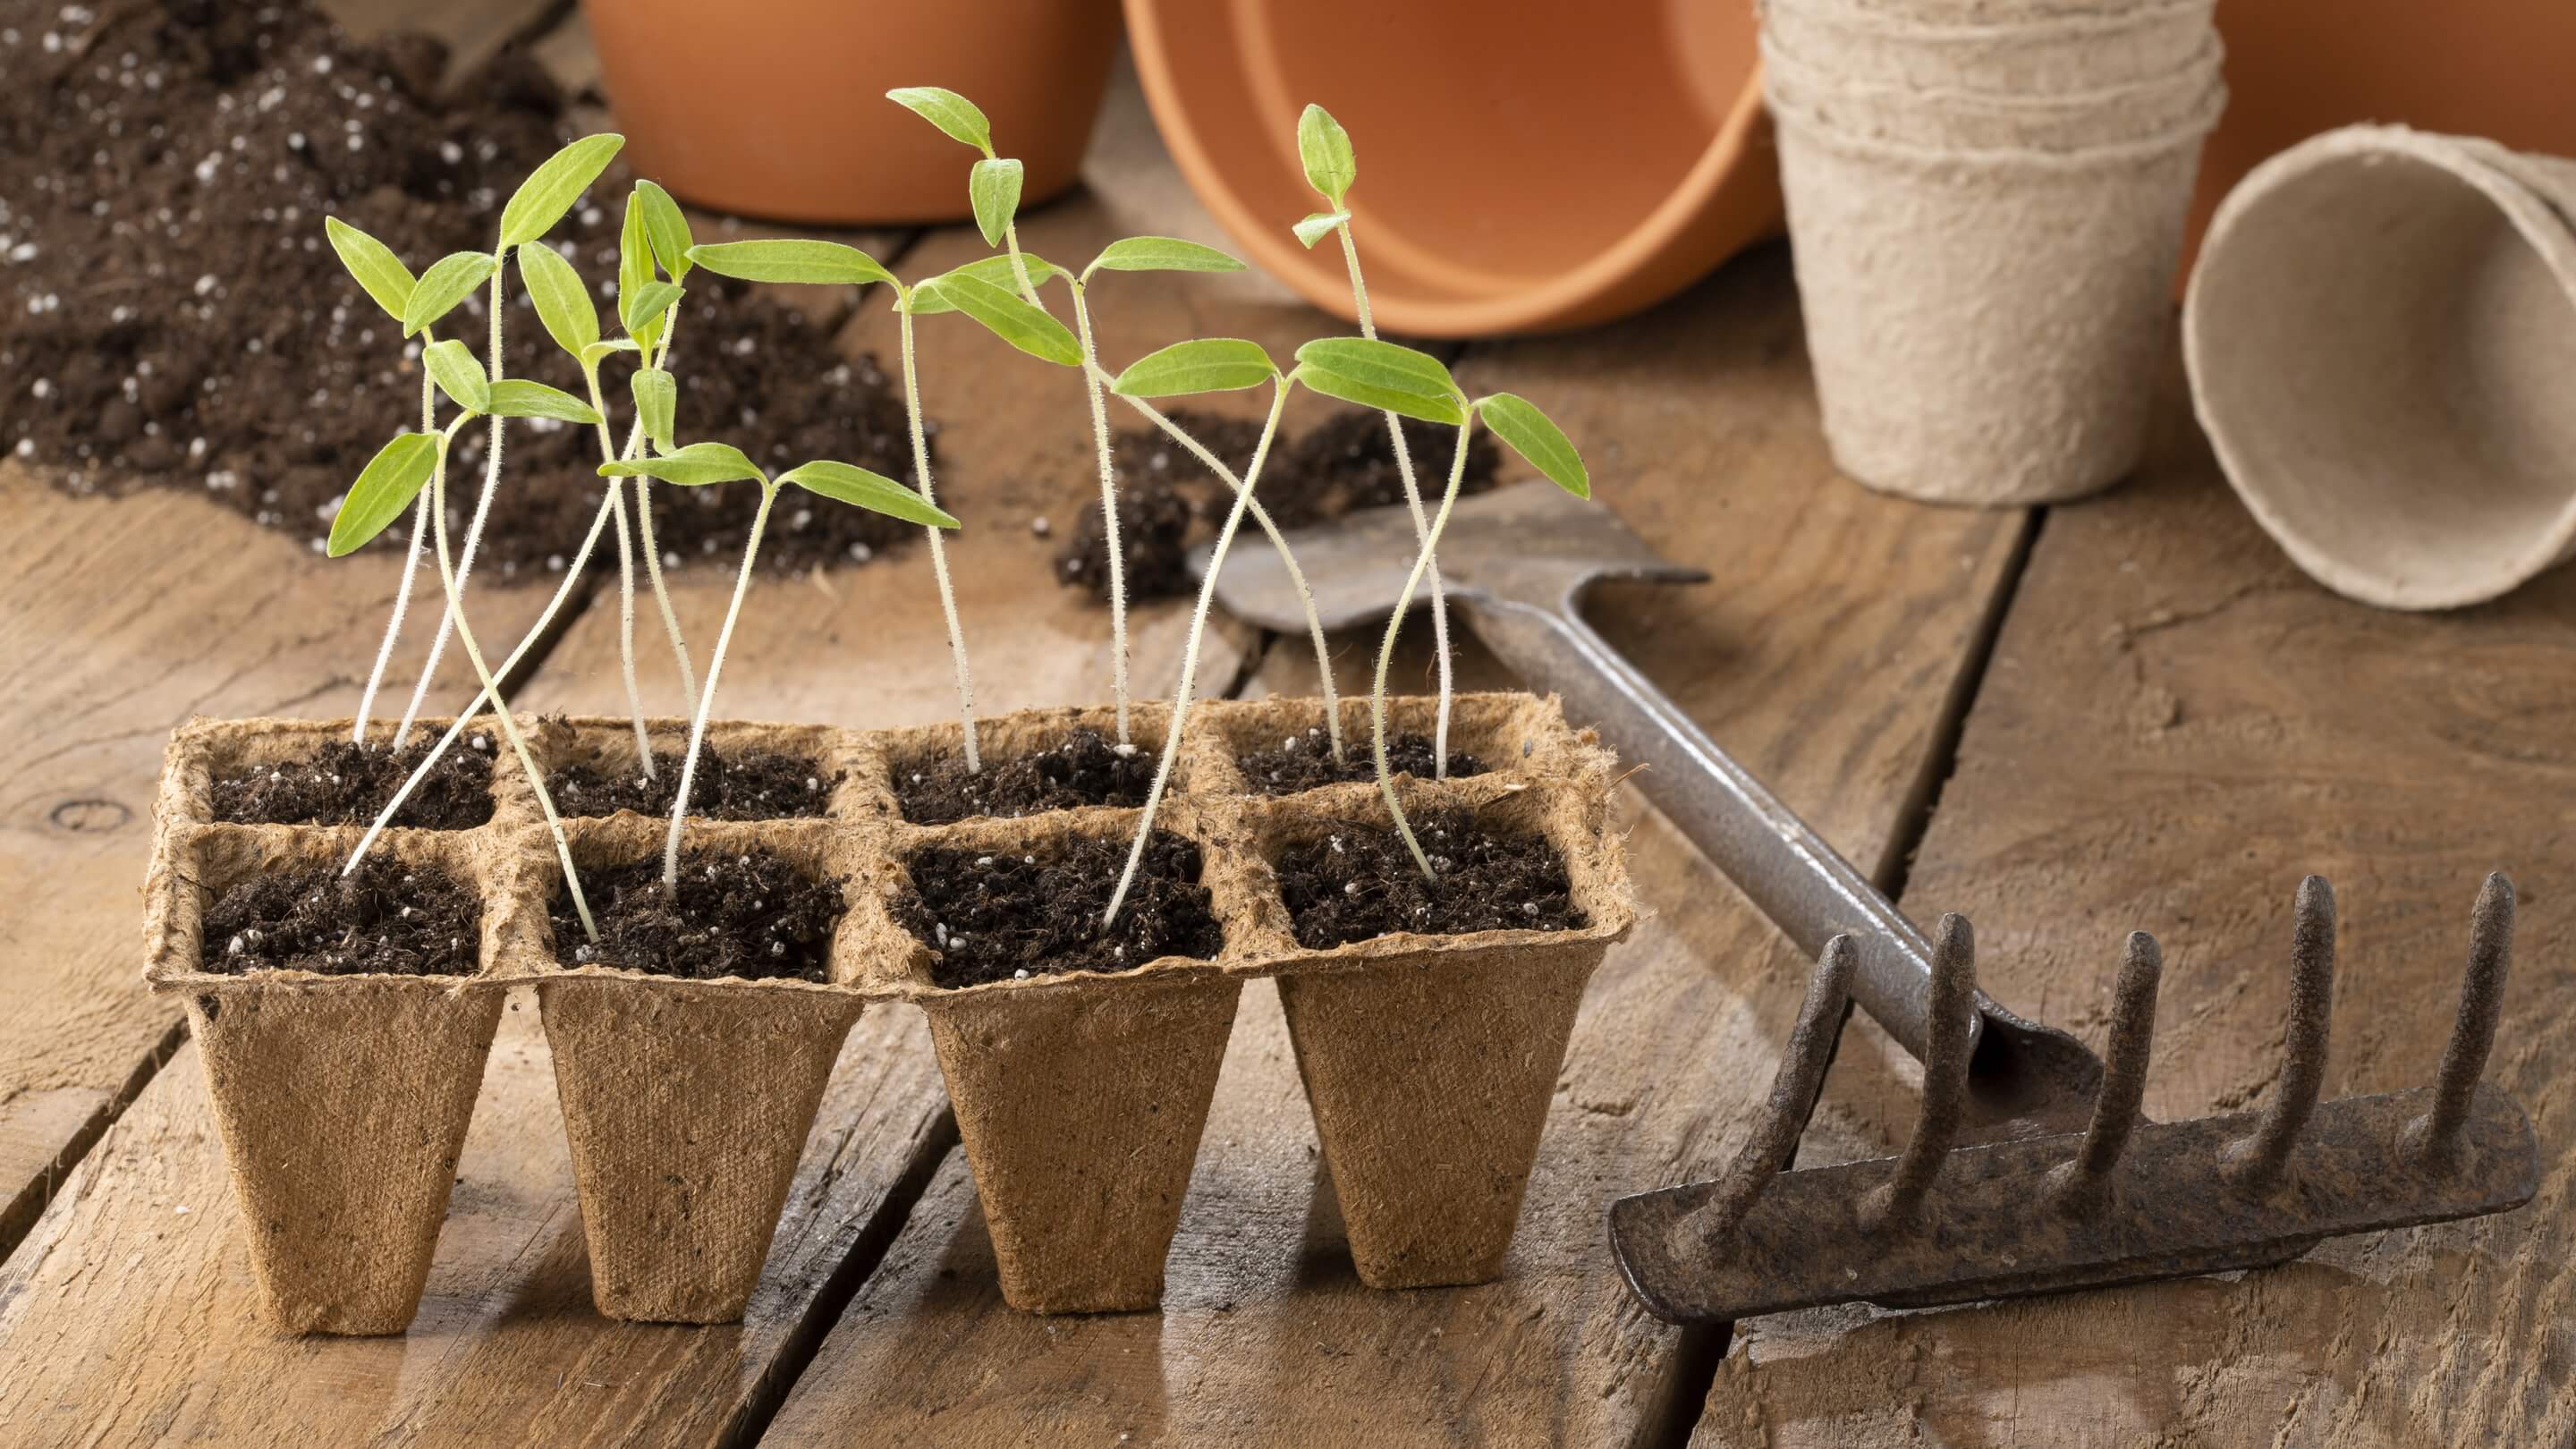
Step 2 – Sowing in seed trays
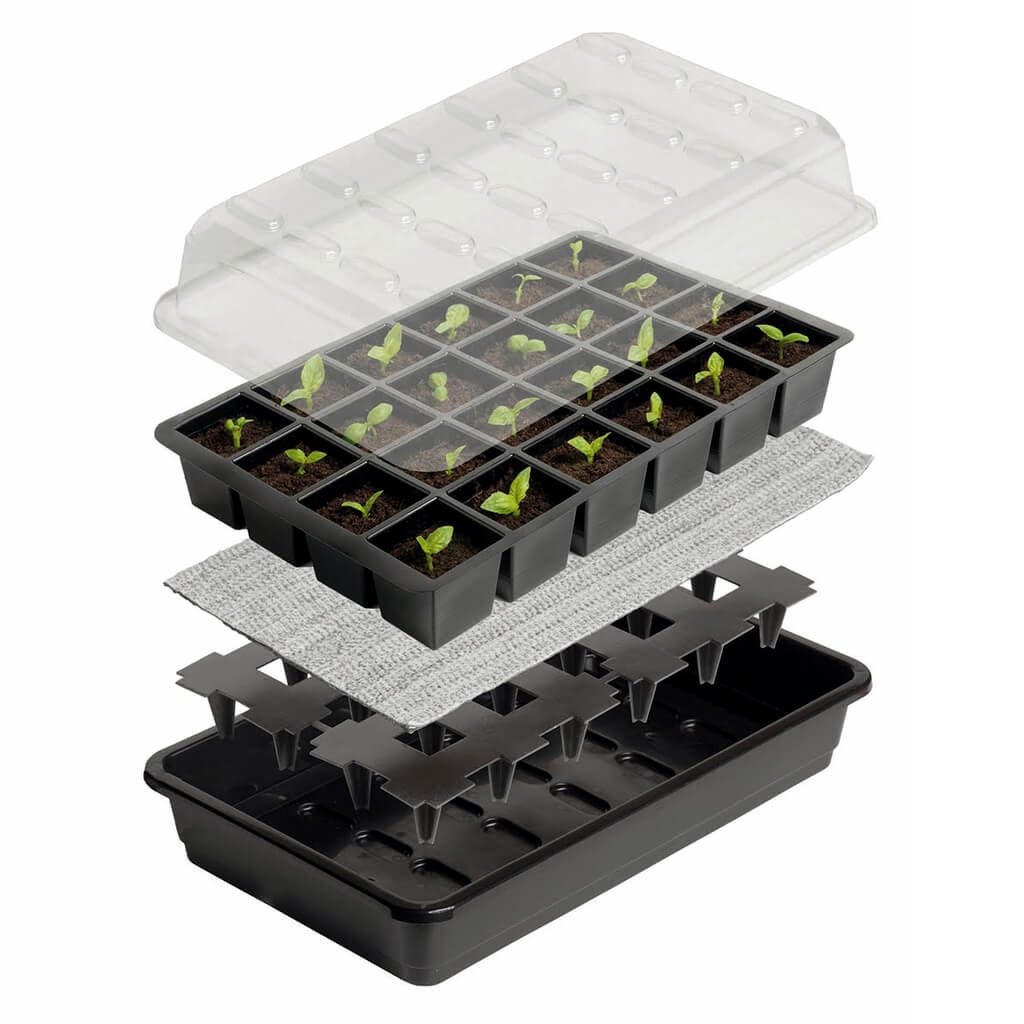
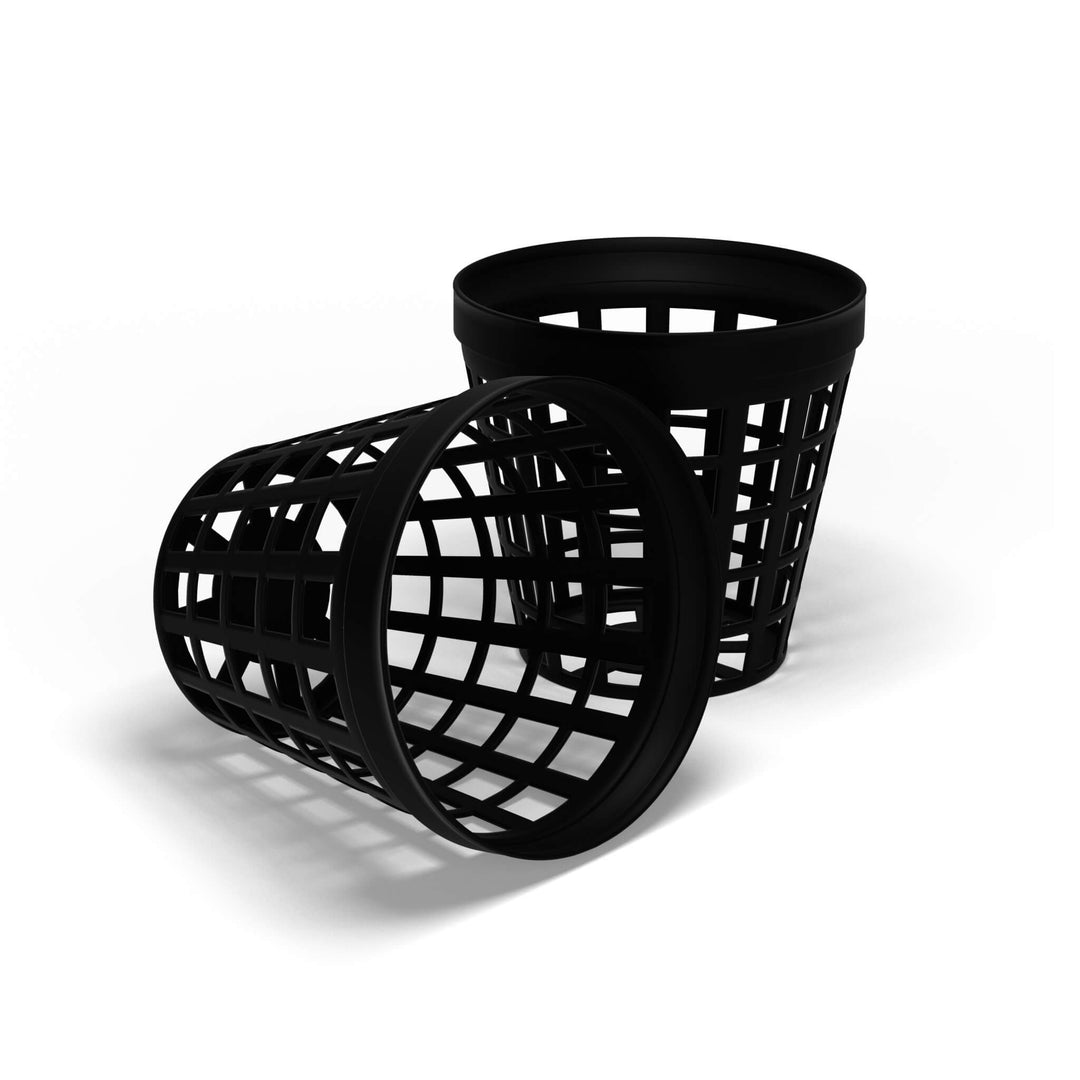
With growing trays or growing pots, you give the seeds the space and good conditions they need to thrive. There are growing trays made of natural materials such as paper and of course plastic. If the trays can be used multiple times and the quality is good enough to be used for subsequent seasons, there is nothing wrong with using plastic trays. The advantage of growing trays made of plastic is that they are water-resistant and often have an integrated cover . A mini greenhouse, in other words, that offers your plants sufficient protection and optimal conditions, especially in spring when it is still colder outside.
Growing trays for raised beds and gardens – soil cultures

For raised bed and garden plants, you use seed trays or pots that you fill with potting soil. Potting soil is a special soil mixture for sowing vegetables and flowers. It has a very loose and airy structure and is usually low in nutrients . Coconut soil has proven to be particularly effective as a planting substrate . Only when the young plant is large enough to be pricked out - i.e. planted in the soil - do you need more nutrient-rich or fertilized soil so that the plant can really start to grow.
After filling the cells of the seed tray with potting soil, the seeds are then placed in the soil. The cells are kept moist and covered with a hood. This creates a perfect climate for the young plants to grow.
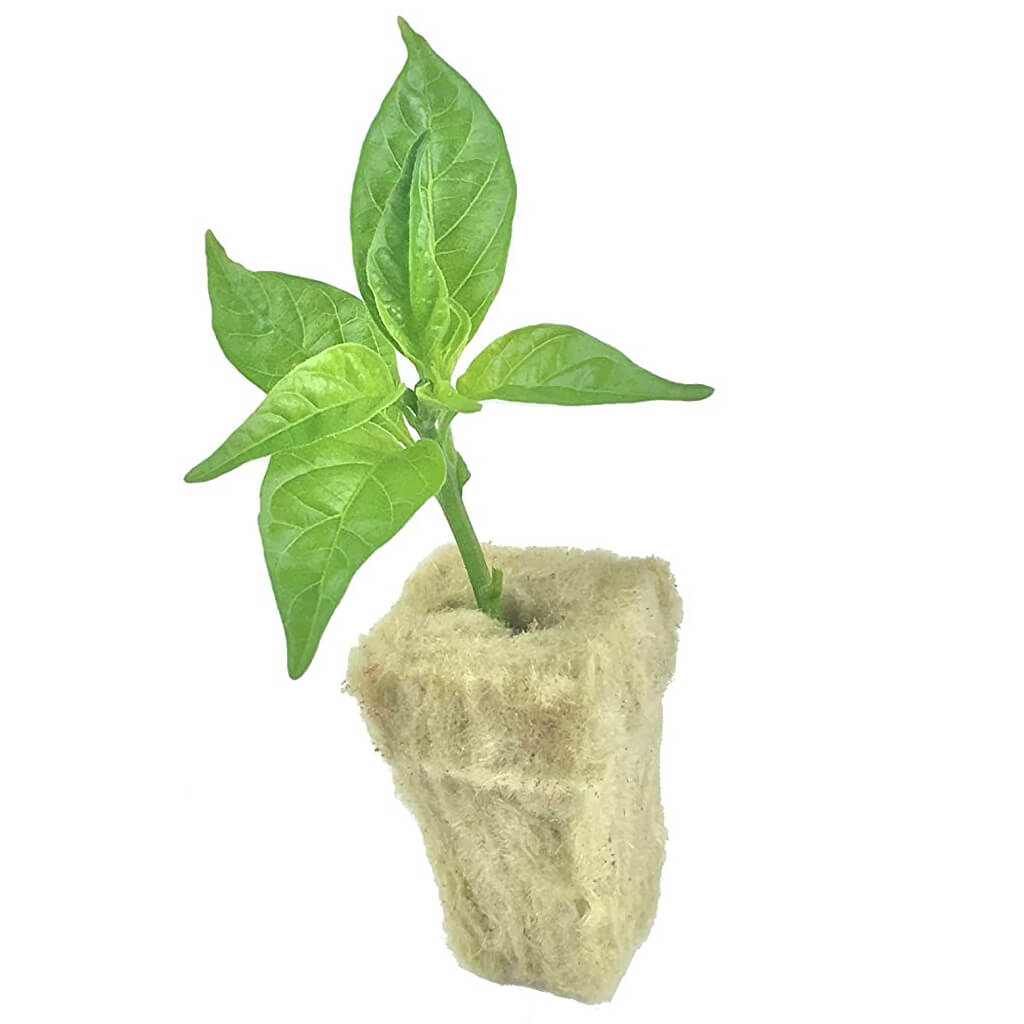
Growing trays and rockwool blocks for aquaponics – hydroponics

In contrast to soil cultivation, in aquaponics plants are not in soil , but in hydro substrate . In hydroponics, the plants absorb nutrients in liquid form through the water . In this case, seeds need a solid block to germinate. In most cases, blocks made of rock wool are used for this.
Each block then contains a young plant with its first small roots. When the plant is big enough, it is either placed together with the block in a grow bed with substrate (plant clay, clay granules or grow gravel) or placed in a DWC (Deep Water Culture) or NFT (Nutrient Film Technique) system with net pots .
You can find out more about the different forms of plant cultivation in aquaponics in the blog post:Aquaponics system types: The differences between F&D, NFT and DWC
As with soil cultivation , one cell is used per young plant . The trays can also be covered with a cultivation hood to create warm and wind-protected conditions for the seeds to germinate.
Step 3 – Transplanting the young plants
Depending on the conditions, the seeds germinate after a few days and begin to grow into young plants . The plants develop their first small roots in the substrate, so they can stay in the cells for a maximum of a few weeks. Then it becomes too cramped and you have to put the young plants in the soil or in the aquaponics grow bed .

Vegetable seedling in soil
In the soil, this is called pricking out. You dig out a suitable area for the young plant and then plant it there. It will grow there until it is ready to be harvested.

Young vegetable plant in aquaponics planting bed
It works similarly in aquaponics. If you have a classic high and low tide grow bed , you place the rock wool block together with the plant in the planting clay . With NFT or DWC systems, you use net pots in which you place the individual blocks with the young plants and fill them all around with suitable substrate . You then place the plant with the net pot in the pipe system or floating RAFT.
Tell us about your experiences with seeds, growing and pricking out your young plants in the vegetable garden or in aquaponics. You will find the comment box just below.


Leave a comment